Nest.js 系列——初识 Nestjs
初始化新建一个 nest 项目
shell
// 全局安装nestjs脚手架
npm i -g @nestjs/cli

// 使用脚手架新建项目
nest new project-name文件目录
shell
.
├── README.md // 说明文件
├── dist // 打包生成的文件
│   ├── app.controller.d.ts
│   ├── app.controller.js
│   ├── app.controller.js.map
│   ├── app.module.d.ts
│   ├── app.module.js
│   ├── app.module.js.map
│   ├── app.service.d.ts
│   ├── app.service.js
│   ├── app.service.js.map
│   ├── common
│   ├── main.d.ts
│   ├── main.js
│   ├── main.js.map
│   ├── modules
│   └── tsconfig.build.tsbuildinfo
├── nest-cli.json // nestjs配置文件
├── package.json // npm 包文件
├── src // 开发源码文件
│   ├── app.controller.spec.ts
│   ├── app.controller.ts // 控制器路由
│   ├── app.module.ts // 模块文件
│   ├── app.service.ts // 服务文件
│   └── main.ts // 入口主文件
├── tsconfig.build.json
├── tsconfig.json
└── yarn.lock启动 nest 服务
shell
yarn start:dev

or

npm run start:dev


[10:01:56 PM] Starting compilation in watch mode...

[10:01:58 PM] Found 0 errors. Watching for file changes.

[Nest] 36861   - 01/31/2023, 10:01:59 PM   [NestFactory] Starting Nest application...
[Nest] 36861   - 01/31/2023, 10:01:59 PM   [InstanceLoader] AppModule dependencies initialized +15ms
[Nest] 36861   - 01/31/2023, 10:01:59 PM   [RoutesResolver] AppController {}: +8ms
[Nest] 36861   - 01/31/2023, 10:01:59 PM   [RouterExplorer] Mapped {, GET} route +3ms
[Nest] 36861 - 01/31/2023, 10:01:59 PM [NestApplication] Nest application successfully started +2ms默认启动的地址是http://localhost:3000页面上会显示默认的 demo hello word
nest 中基础概念
nest 控制器
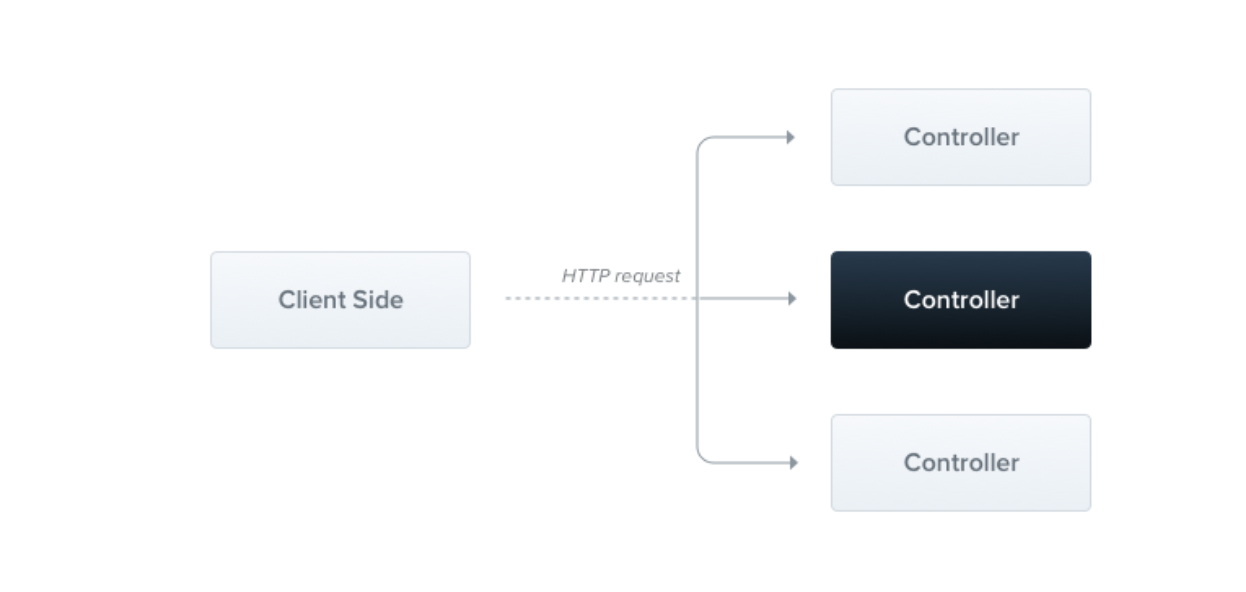
什么是控制器,控制器负责处理传入的请求和向客户端返回响应

控制器的目的是接收应用的特定请求。路由机制控制哪个控制器接收哪些请求。通常,每个控制器有多个路由,不同的路由可以执行不同的操作。
为了创建一个基本的控制器,我们使用类和装饰器。装饰器将类与所需的元数据相关联,并使 Nest能够创建路由映射(将请求绑定到相应的控制器)。
新建一个控制器
// 创建控制器 hello
nest g controller hello

or

nest g co hellonest 服务
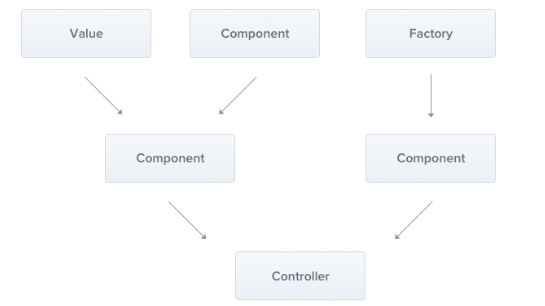
服务可以是 service 也可以是 provider,都可以通过 constructor 注入依赖关系。服务本质上是一个@Injectable()装饰器注解的类,相当于 mvc 中的 model 层

新建一个服务
// 创建服务 hello
nest g service hello

or

nest g s hellonest 模块
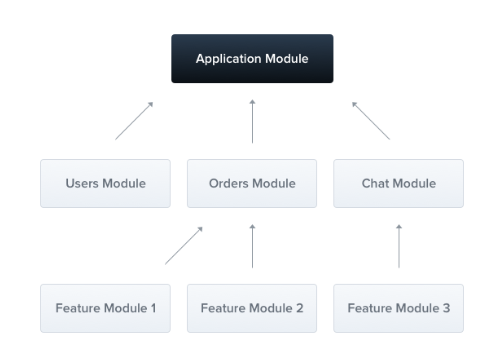
模块是具有 @Module() 装饰器的类。 @Module() 装饰器提供了元数据,Nest 用它来组织应用程序结构,每个 Nest 应用程序至少有一个模块,即根模块。根模块是 Nest 开始安排应用程序树的地方。事实上,根模块可能是应用程序中唯一的模块,特别是当应用程序很小时,但是对于大型程序来说这是没有意义的。在大多数情况下,您将拥有多个模块,每个模块都有一组紧密相关的功能。
TIP
@module() 装饰器接受一个描述模块属性的对象:
providers由 Nest 注入器实例化的提供者,并且可以至少在整个模块中共享controllers必须创建的一组控制器imports导入模块的列表,这些模块导出了此模块中所需提供者exports由本模块提供并应在其他模块中可用的提供者的子集

新建一个模块
// 创建模块 hello
nest g module hello

or

nest g mo hello每个模块都是一个共享模块。一旦创建就能被任意模块重复使用。
直接生成一个功能模块的代码资源
// 创建一个功能模块资源
nest g resource hello

or

nest g res hellonest 的架构和代码组合方式
nest 的代码是以模块化的方式组合的,每一块的功能都可以定义成一个模块,先从程序的入口文件 main.ts 入手
ts
import { NestFactory } from '@nestjs/core'
import { AppModule } from './app.module'

async function bootstrap() {
  const app = await NestFactory.create(AppModule)
  await app.listen(3000)
}
bootstrap()通过代码可以看出,通过 NestFactory 来创建一个应用实例,实例中基于 AppModule,然后 app 运行在 3000 端口洗,在看下这个模块是什么
ts
import { Module } from '@nestjs/common'
import { AppController } from './app.controller'
import { AppService } from './app.service'

@Module({
  imports: [],
  controllers: [AppController],
  providers: [AppService]
})
export class AppModule {}AppModule 类通过@Module 装饰器变成一个模块,整个应用程序就是这样的一个一个的模块组成的,然后一个模块又由一个个的服务和控制器组成,nest 的代码基础组成方式就是这样的,然后在去看下控制器和服务
控制器
ts
import { Controller, Get } from '@nestjs/common'
import { AppService } from './app.service'

@Controller()
export class AppController {
  constructor(private readonly appService: AppService) {}

  @Get()
  getHello(): string {
    return this.appService.getHello()
  }
}服务
ts
import { Injectable } from '@nestjs/common'

@Injectable()
export class AppService {
  getHello(): string {
    return 'Hello World!'
  }
}
