前言
也许很多人都想尝试下app的开发,那对于react使用者来说,react native是一个不错的入门选择,但是因为开发环境搭建不好而放弃的也很多。笔者也在搭建开发环境这里踩了很多坑,浪费了很多时间。但是好在最后还是启动起来了项目,也算是一种成功吧,这里就记录下搭建的过程和踩的坑。
配置安卓开发环境
node
按照官网写的,在mac上一般使用brewhome安装一些软件。 首先需要node环境,先安装node,这个用node管理工具安装或者brewhome来装都行
shell
brew install node@18

# or
nvm install v18.0.0

#or
fnm install 18检查下是否安装成功
shell
node --version

npm --version然后安装Watchman
watchman
shell
brew install watchman检查是否安装成功
shell
watchman --version如果在配置node环境的时候,下载npm相关依赖的时候想快点,可以把npm源切为淘宝源,但是一定不要用cnpm因为会出一些奇怪的问题。在切换源的过程中,建议使用nrm源管理工具。可以先安装一个
shell
npm install nrm然后切换为淘宝源
shell
nrm use taobao如果想使用yarn来装依赖,作为管理工具
shell
npm install -g yarn安装jdk
shell
brew tap homebrew/cask-versions
brew install --cask zulu17检查下是否安装成功
shell
javac --version安装android studio
从官方网站点击下载android studio,然后按照提示一步一步安装完成就行了,具体参照官网。
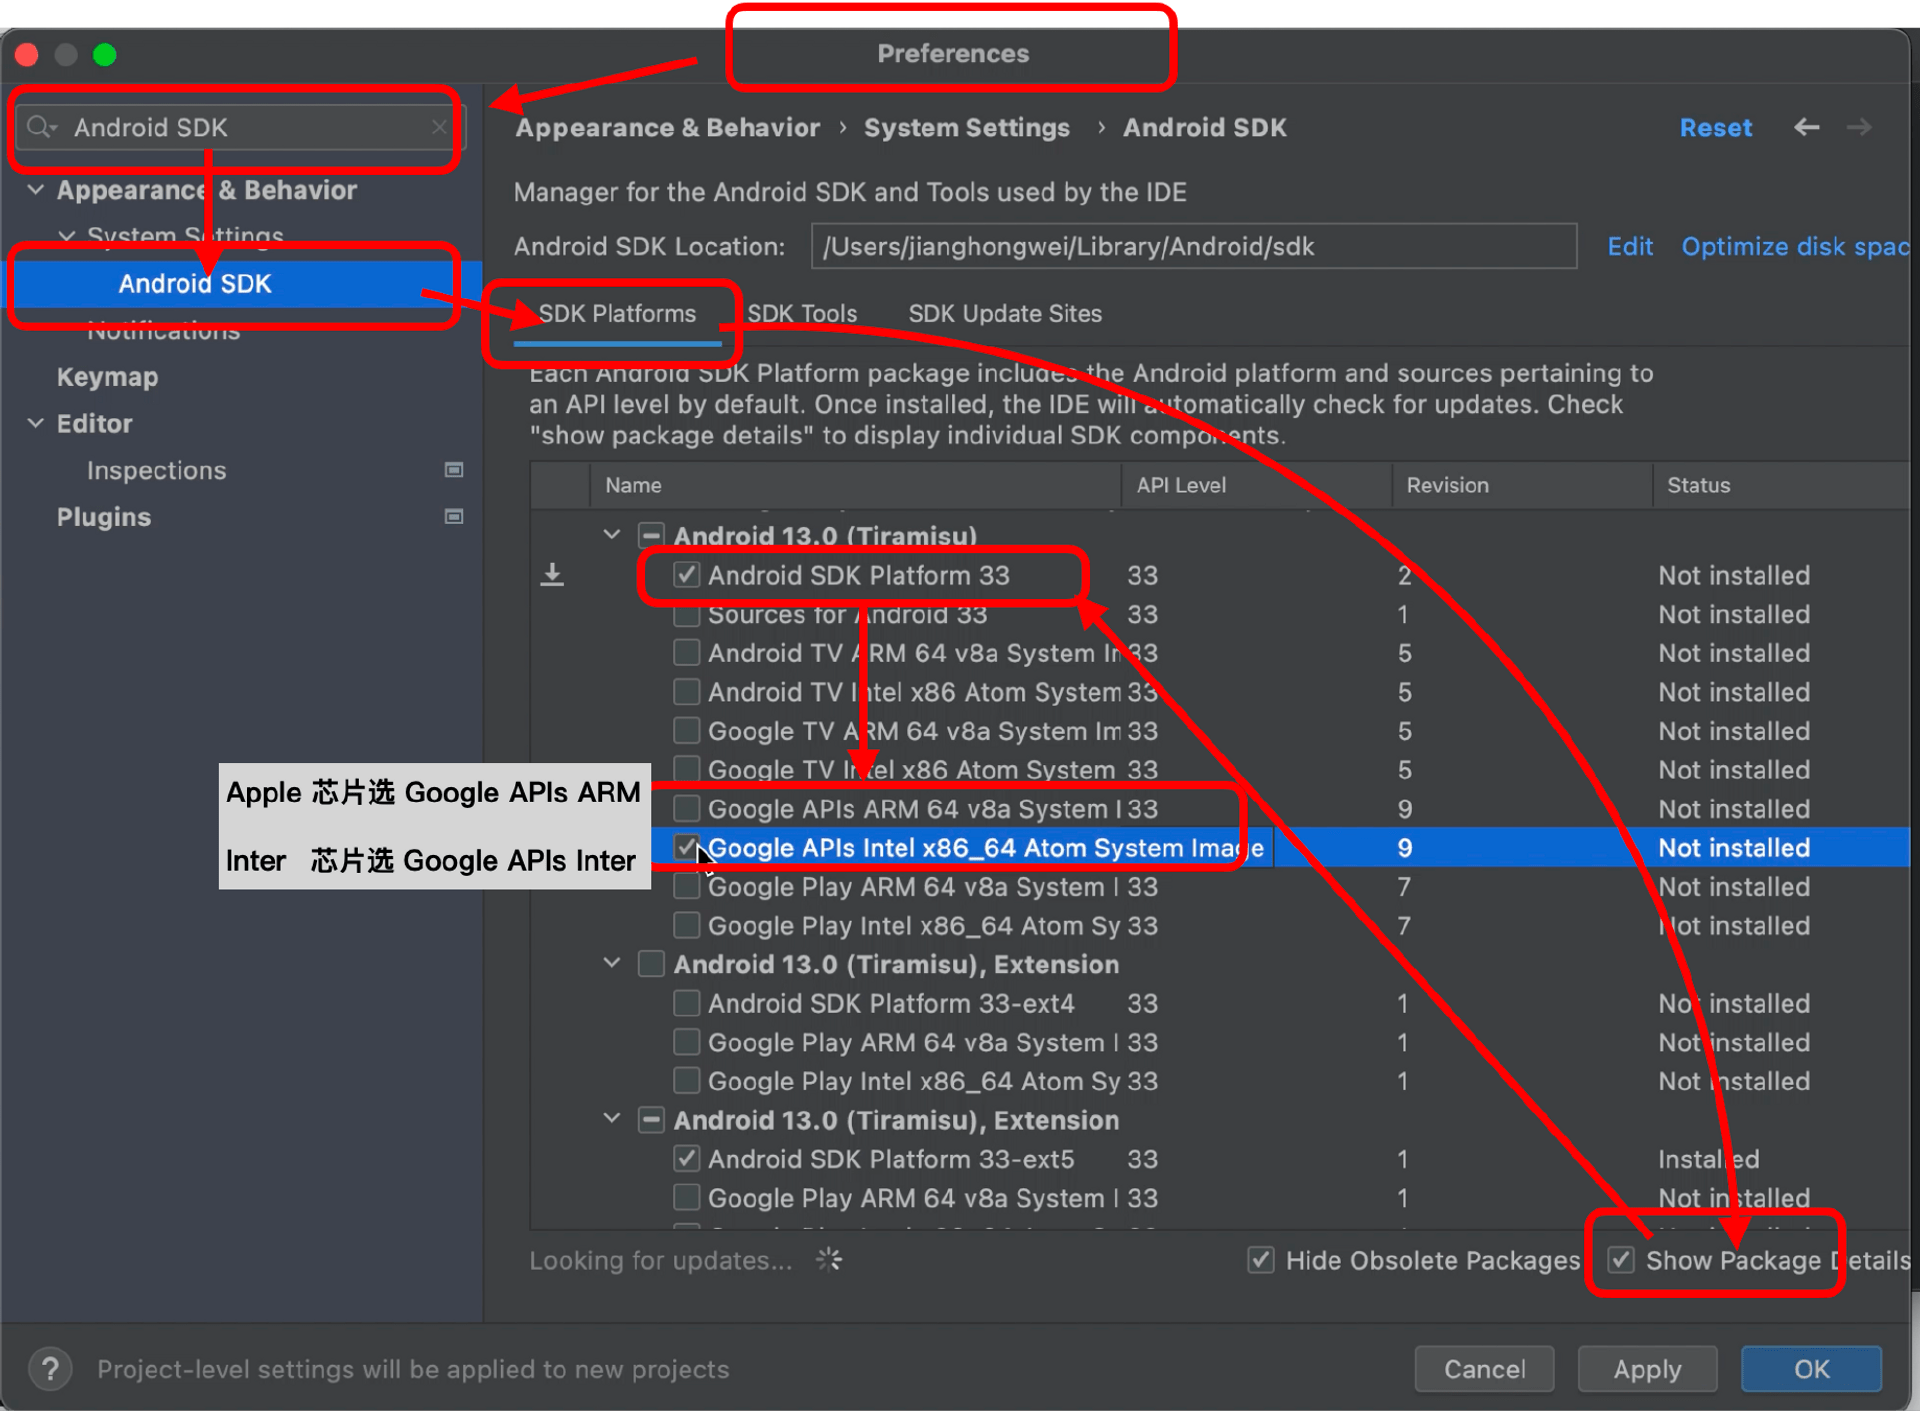
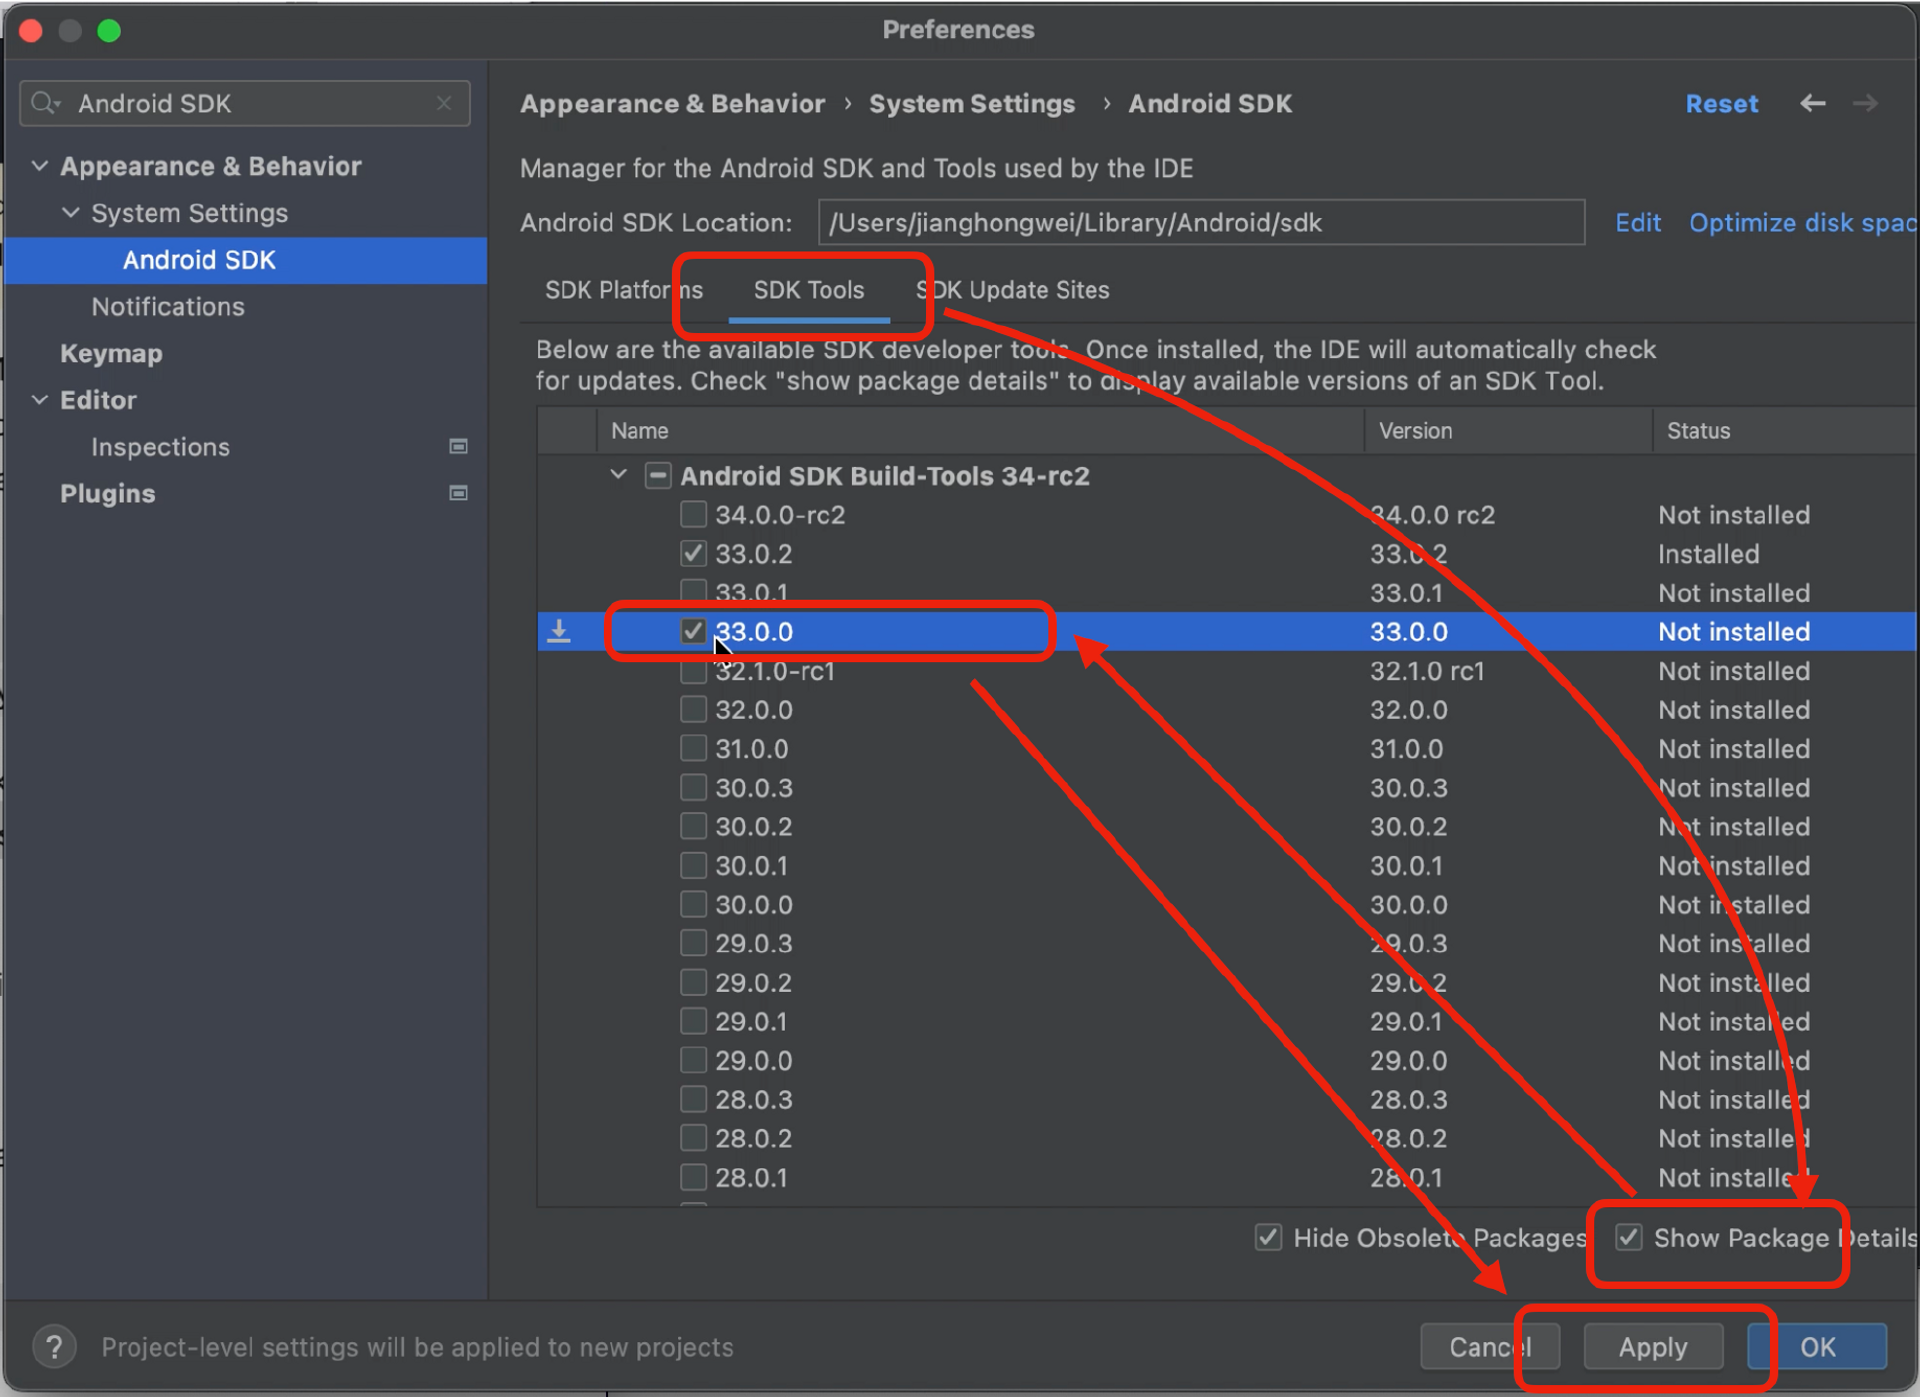
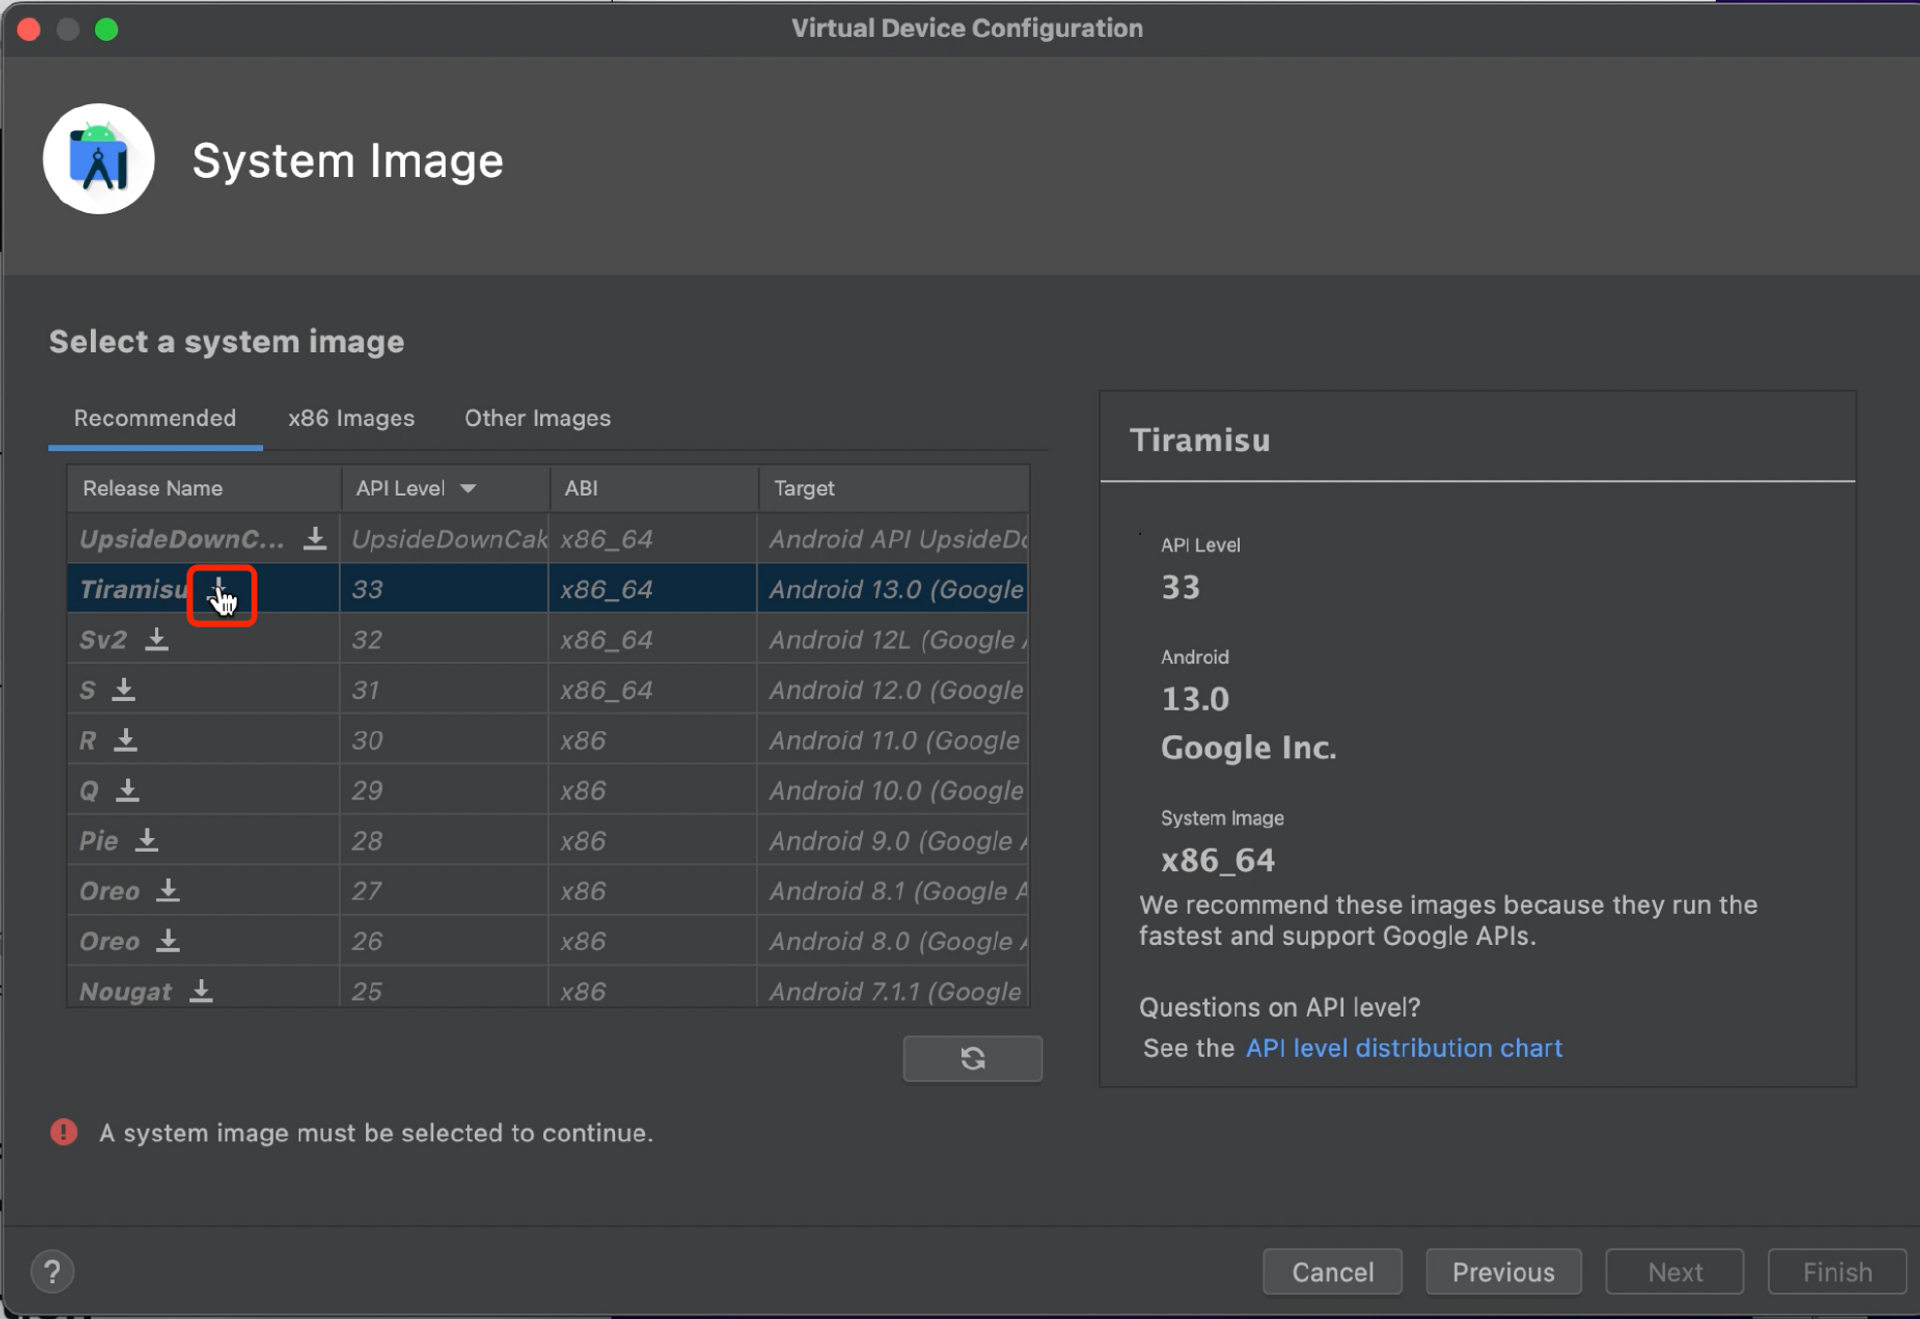
注意这几点 Android SDK Platform 33 Intel x86 Atom_64 System Image 或 Google APIs Intel x86 Atom System Image(Inter CPU) 或 Google APIs ARM 64 v8a System Image (Apple CPU) Android SDK Build-Tools 33.0.0 版本
配置安卓环境变量
因为使用的是zsh,这里就以zsh为例来修改环境变量配置,使用vim修改zsh配置文件.zshrc,加上安卓环境的配置
shell
# 如果你不是通过Android Studio安装的sdk,则其路径可能不同,请自行确定清楚
export ANDROID_HOME=$HOME/Library/Android/sdk
export PATH=$PATH:$ANDROID_HOME/emulator
export PATH=$PATH:$ANDROID_HOME/tools
export PATH=$PATH:$ANDROID_HOME/tools/bin
export PATH=$PATH:$ANDROID_HOME/platform-tools然后退出编辑状态按esc按键然后输入:wq然后保存修改,使用命令重载配置
shell
source ~/.zshrc检查下环境是否配置成功
shell
 echo $ANDROID_HOME

echo $PATH安装安卓模拟器
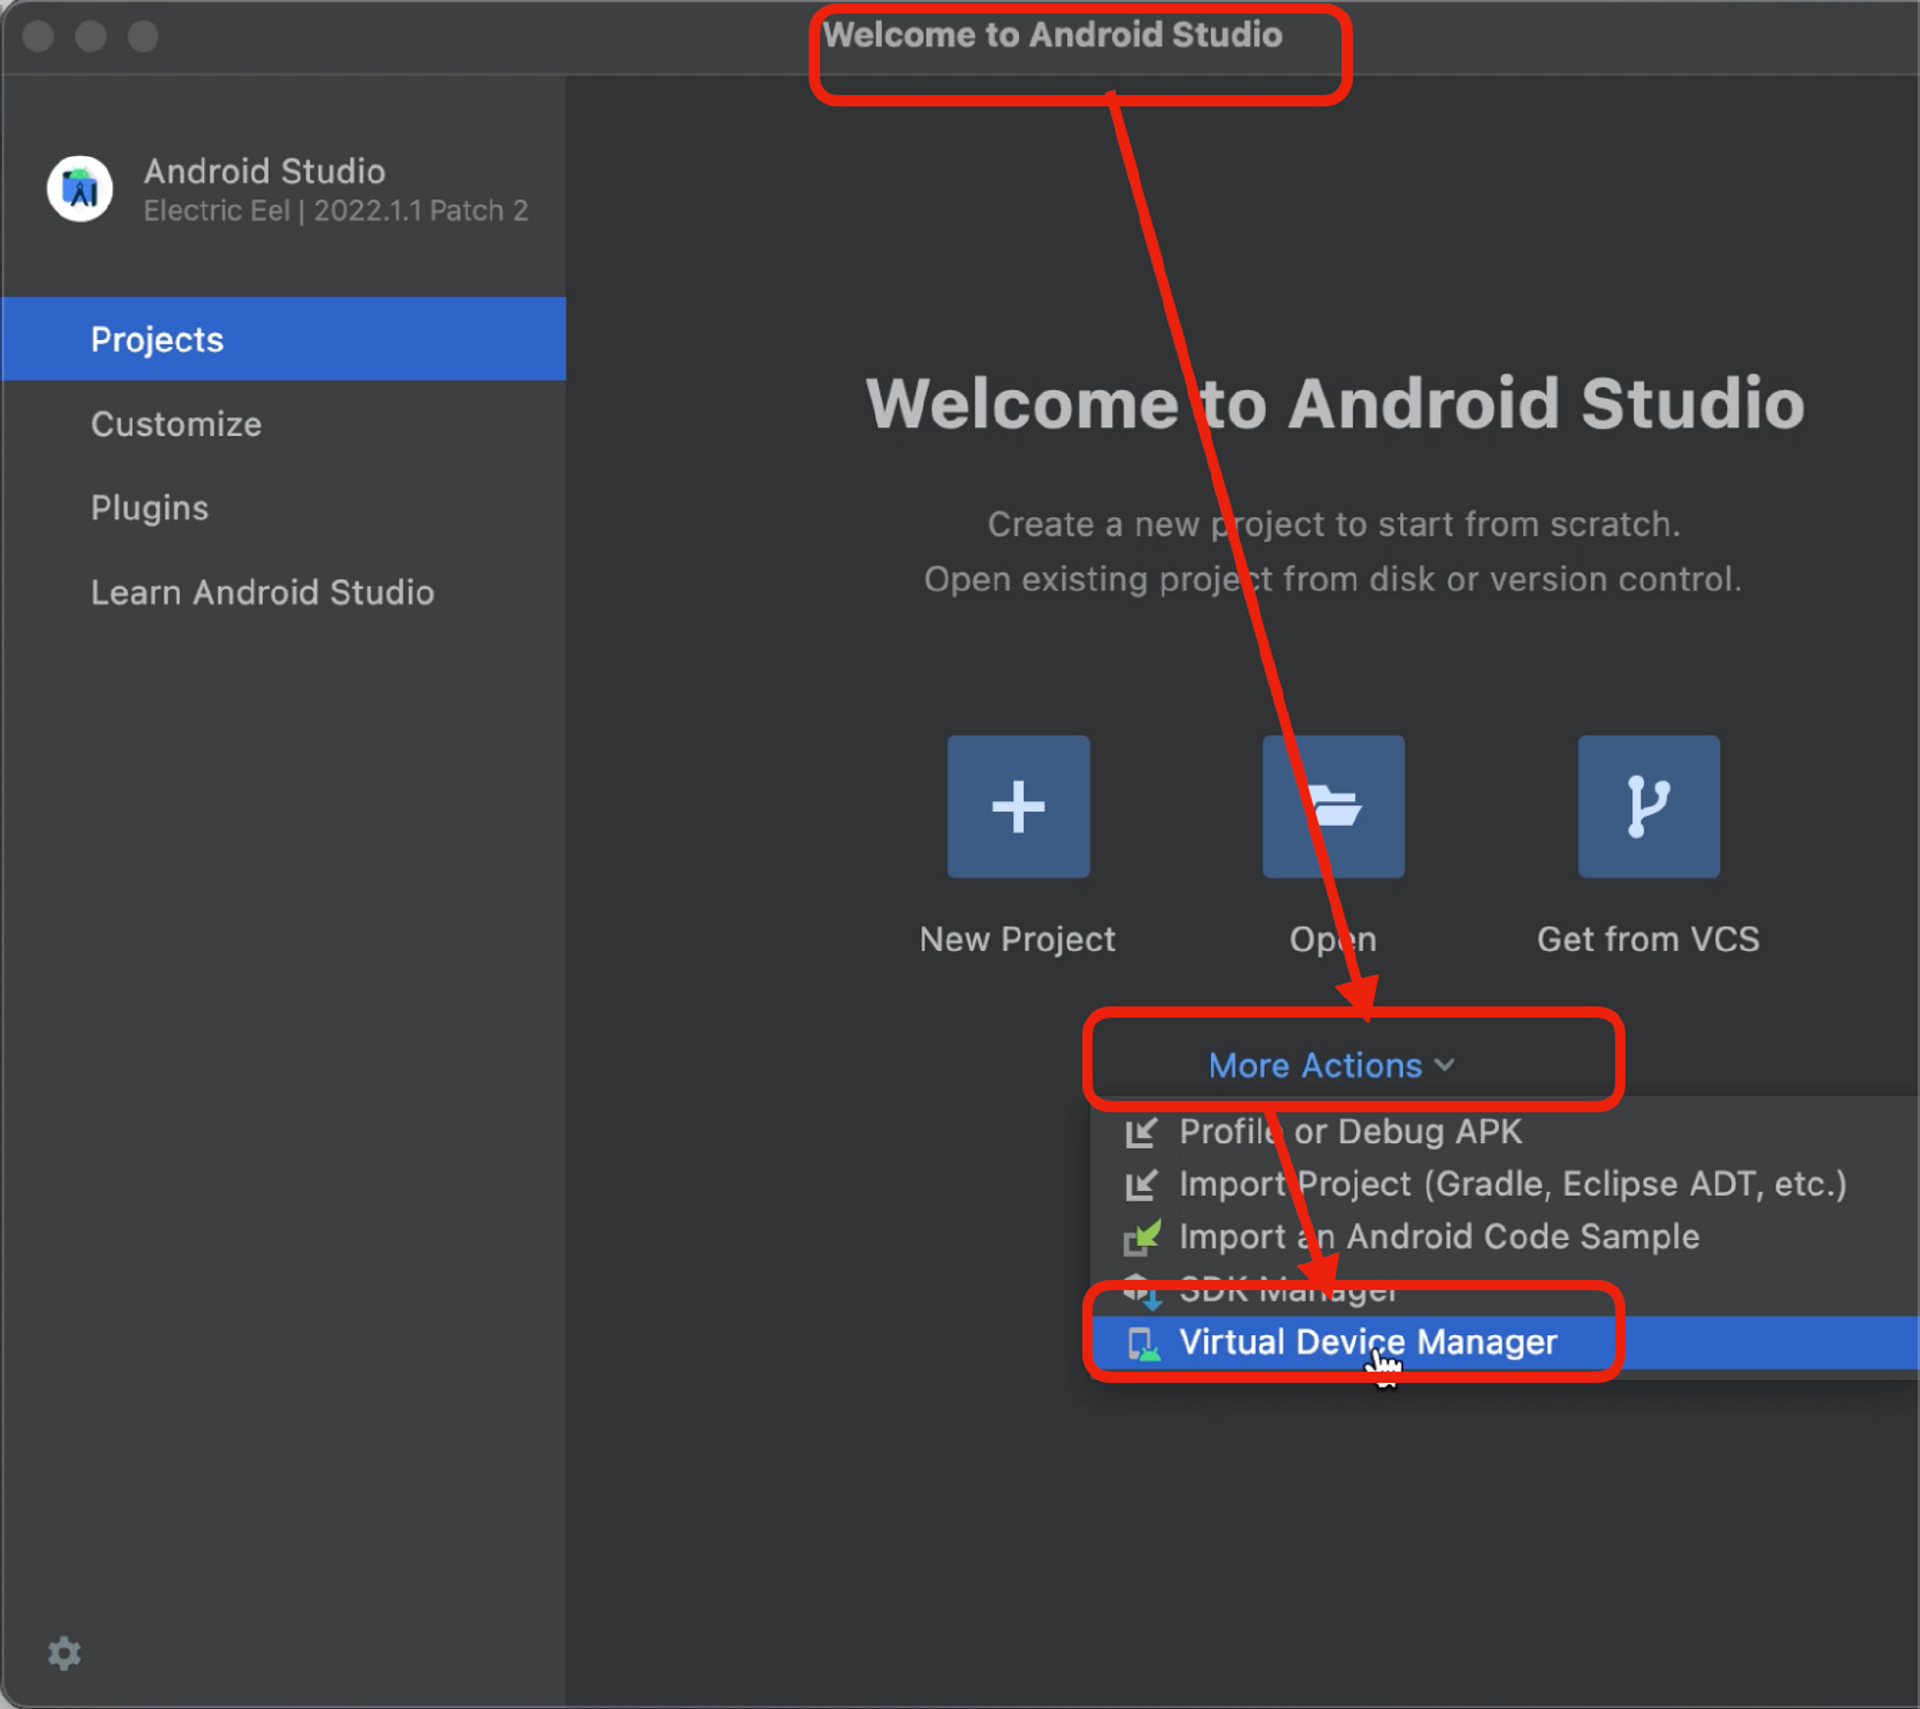
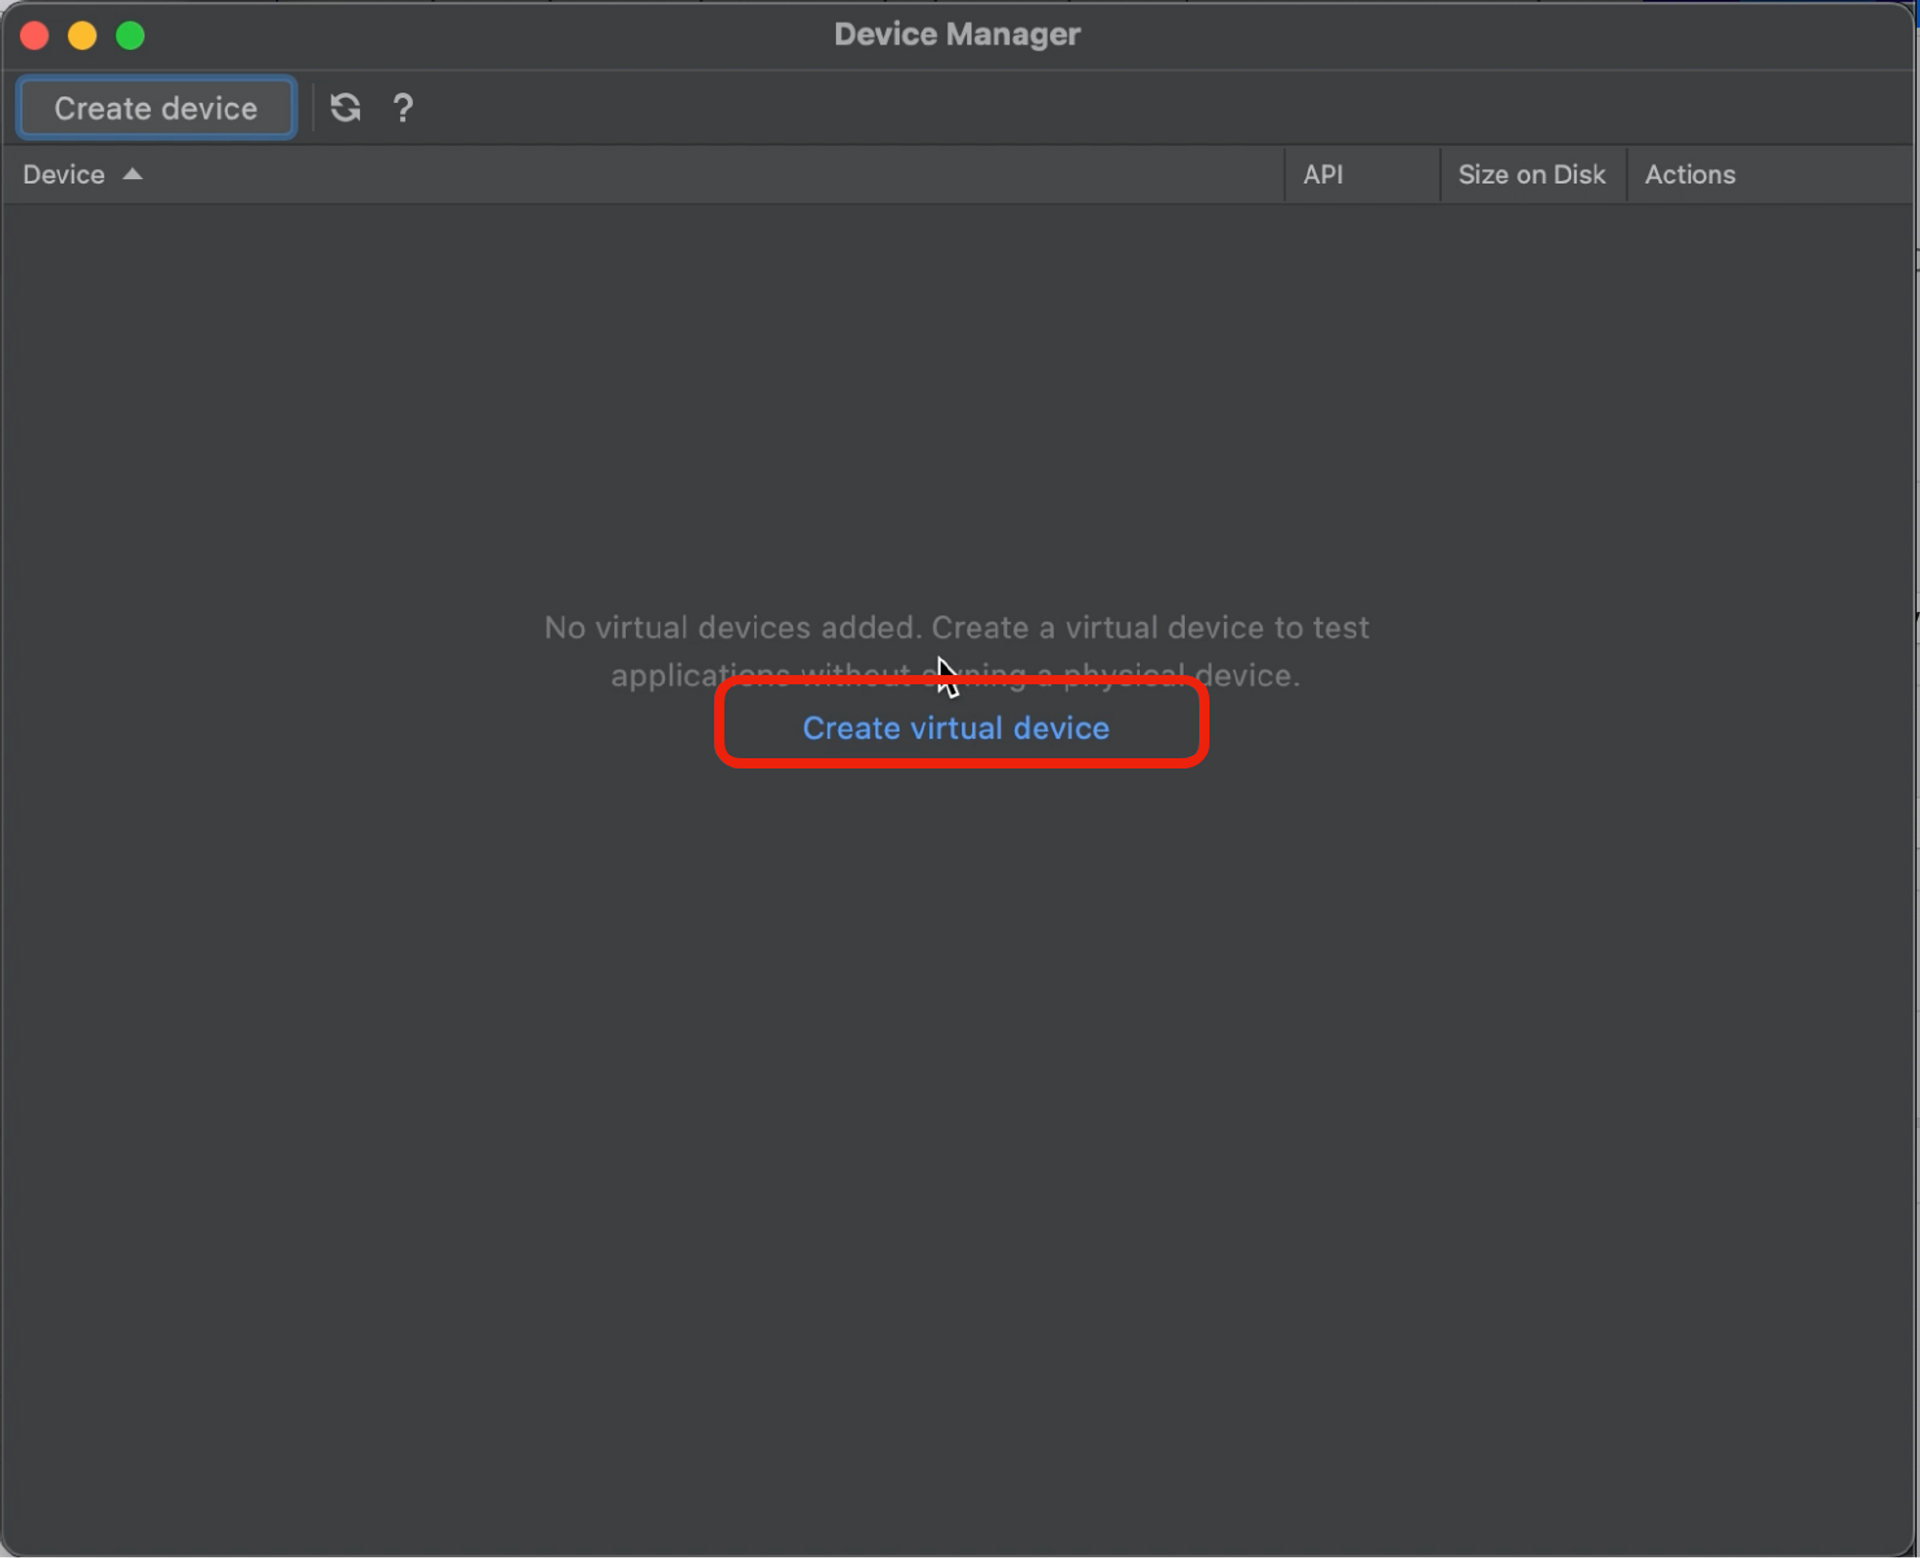
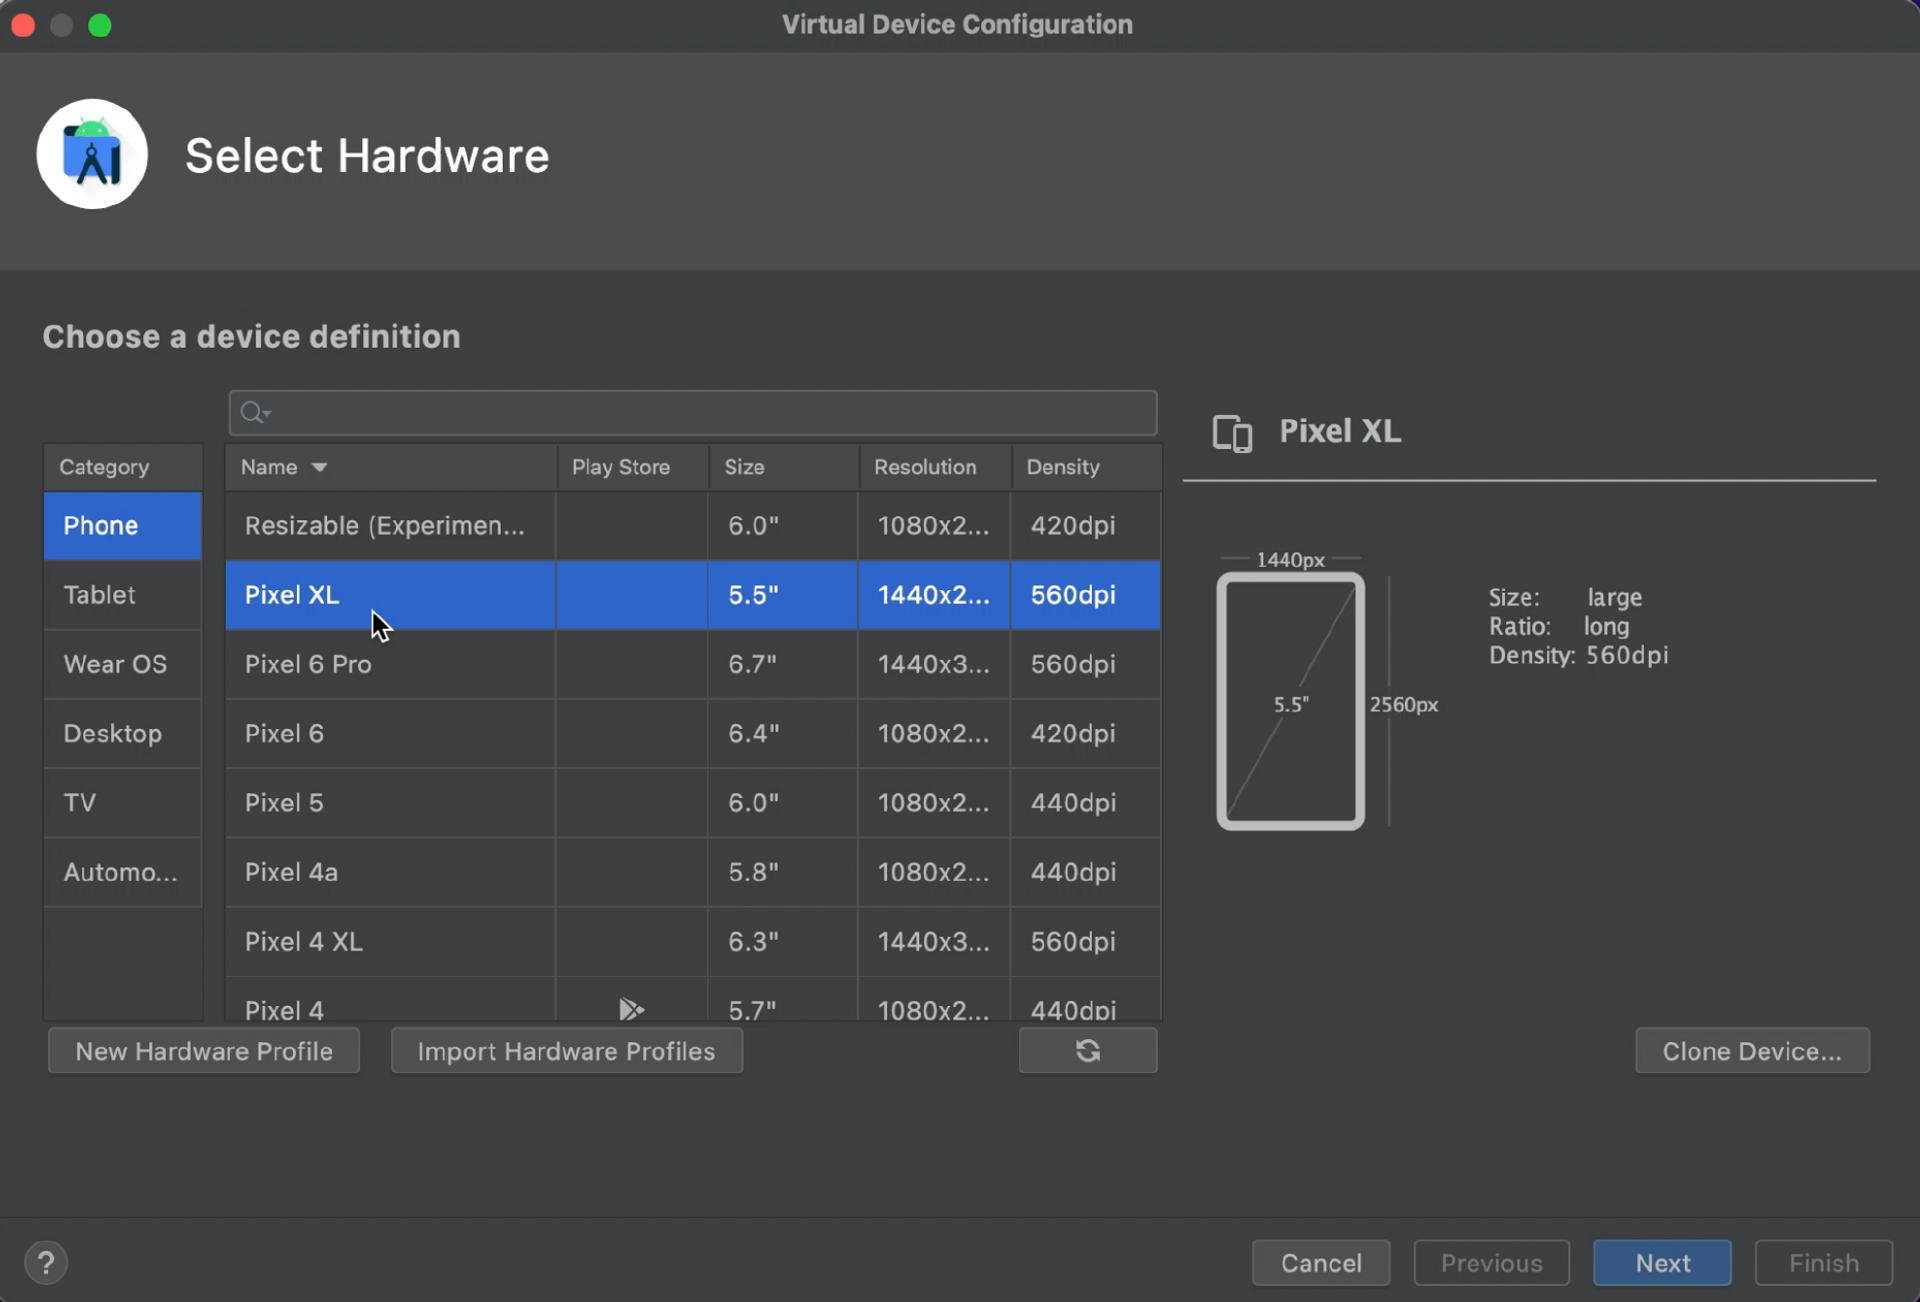
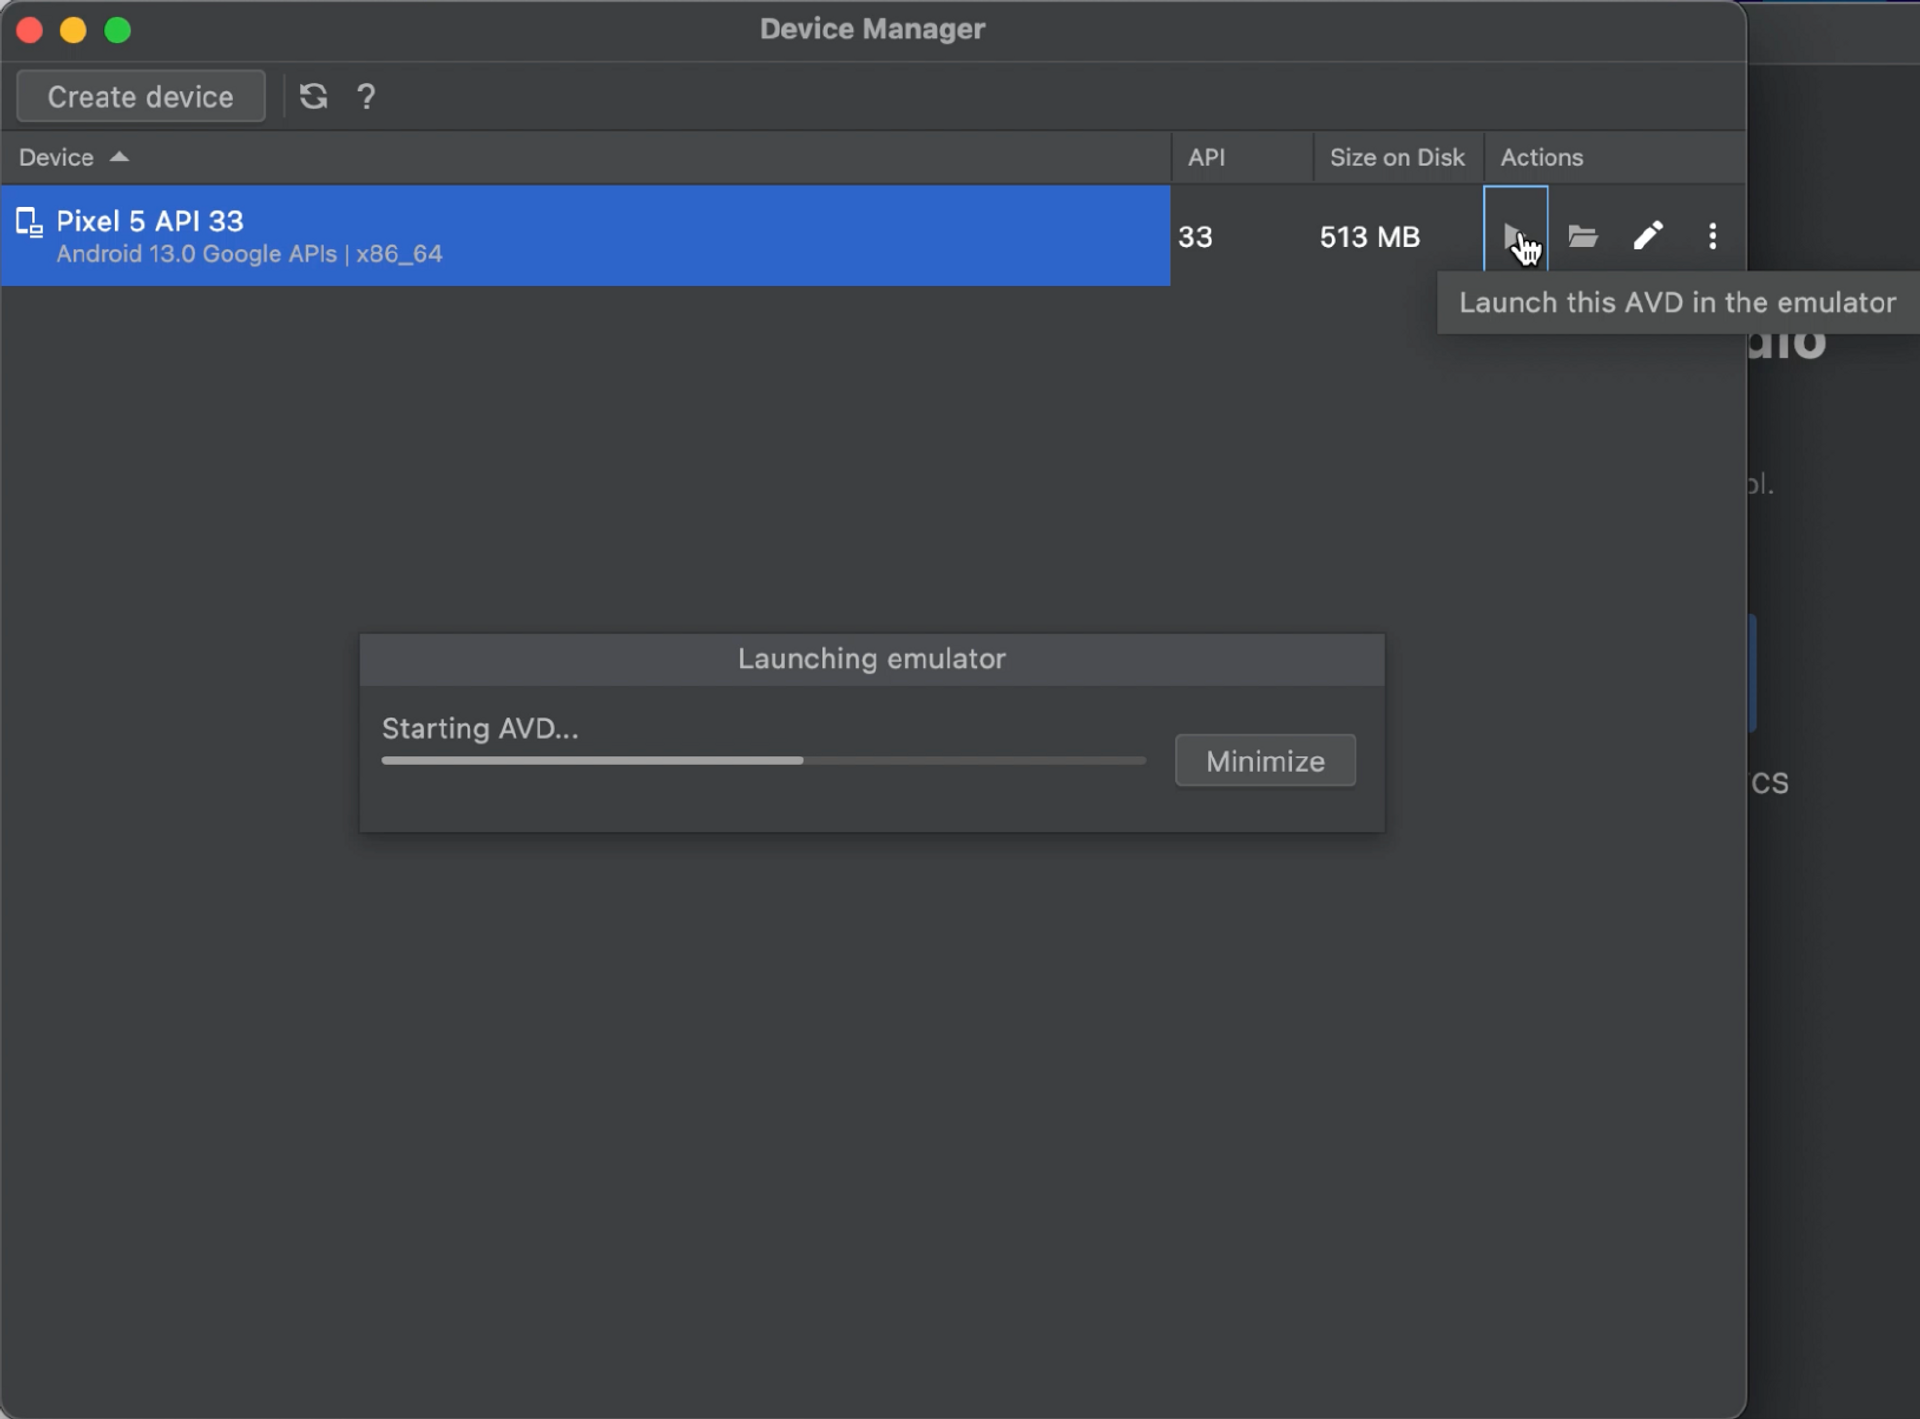
如果你还在 Welcome to Android Studio 页面,那么你可以在 More Actions 下拉框中选择 Virtual Device Manager。其他情况,你可以在顶部菜单栏中点击 Tools > Virtual Device Manager。

创建rn项目
shell
npx react-native@latest init Rn用编辑器打开项目,然后进入到android文件夹安装依赖,使用gradlew build命令
shell
./gradlew build --refresh-dependencies安装完成之后切到根目录启动
shell
cd ..
npx react-native run-android

# or
npm start

#or
npm run android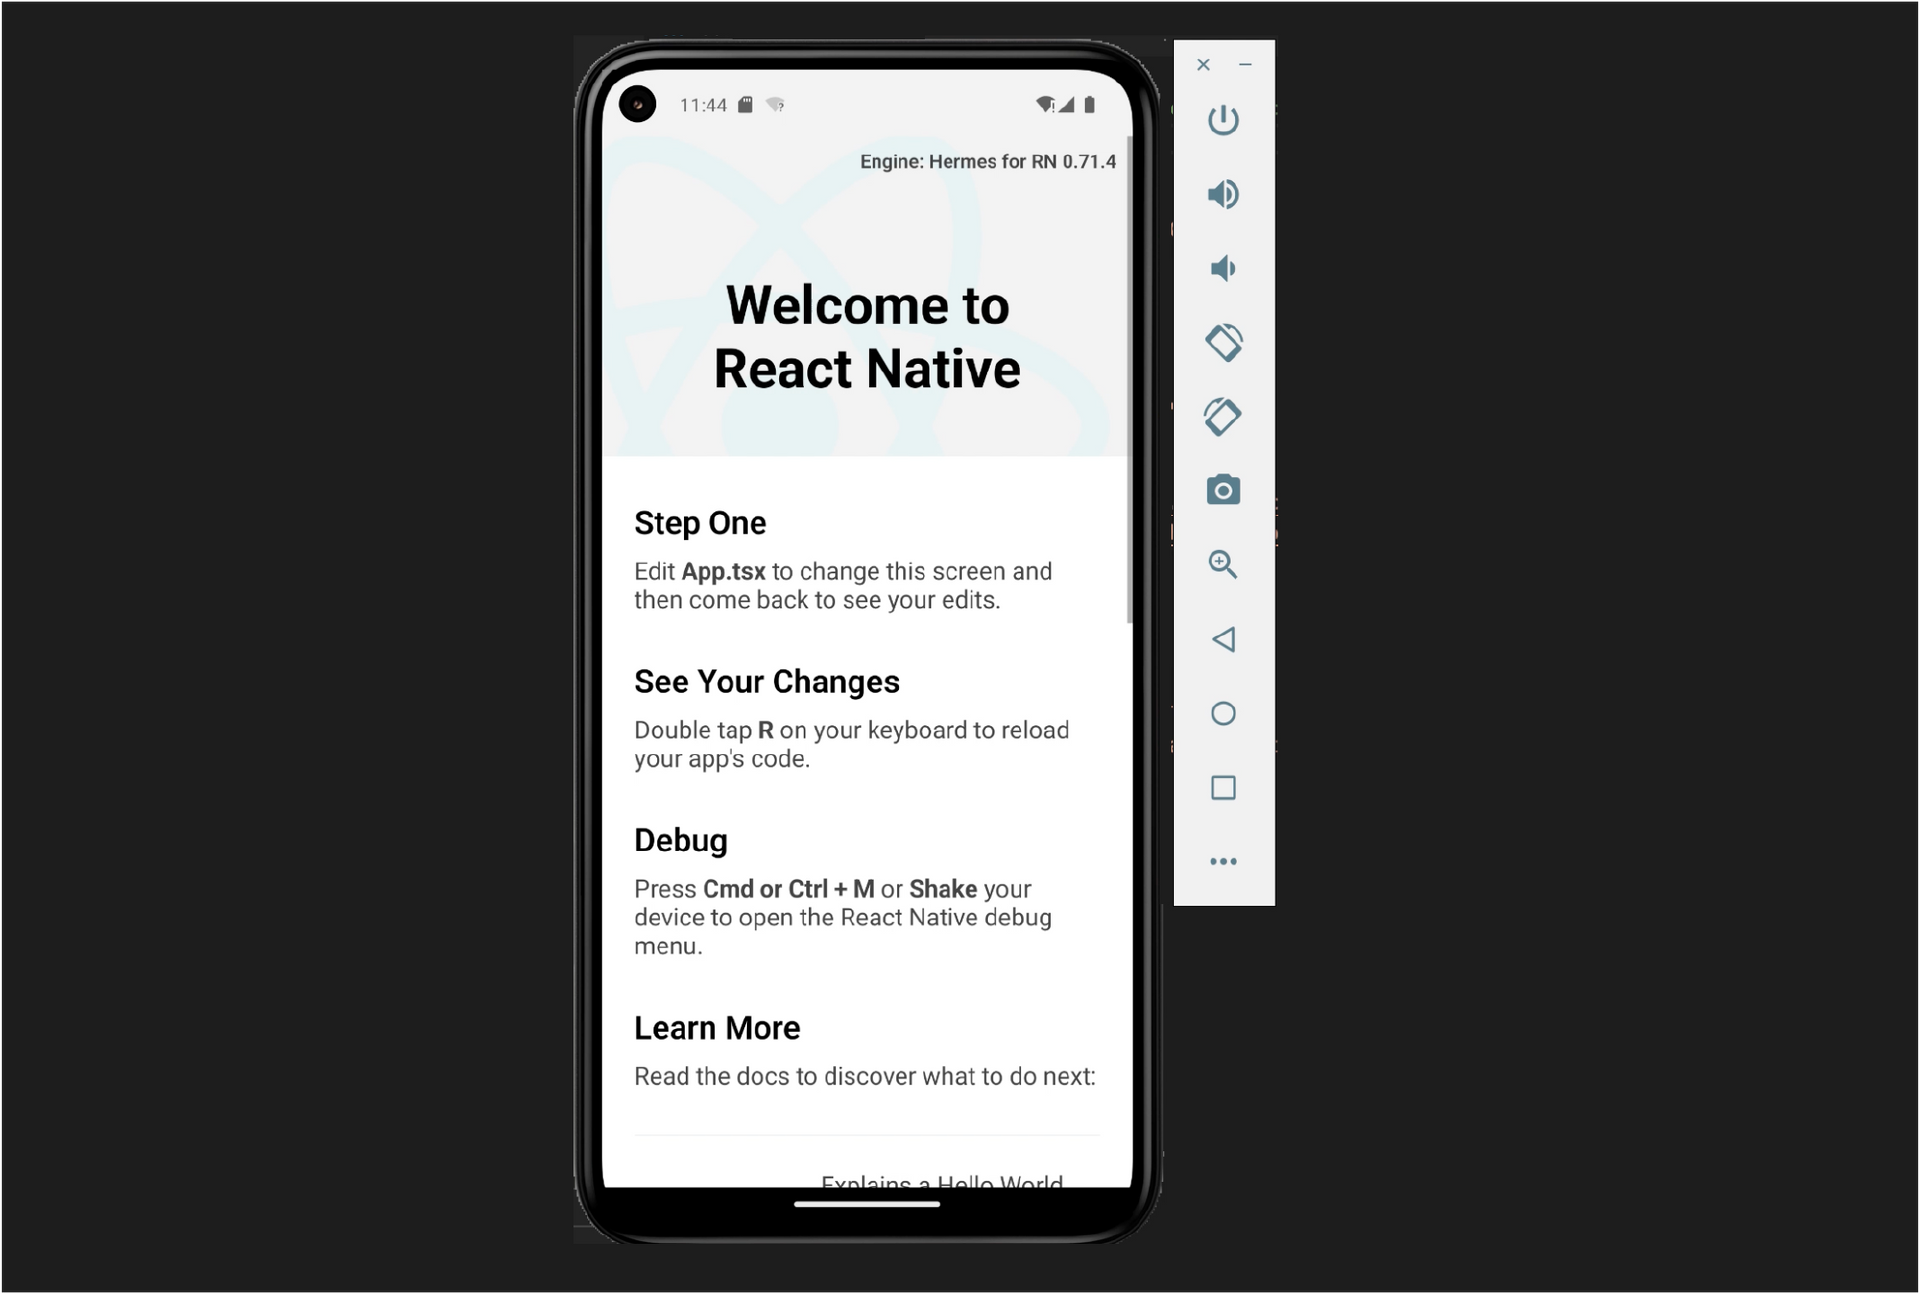
配置ios开发环境
安装node
可以使用Homebrew来安装,也可以通过node的管理工具来安装
shell
brew install node

# or

fnm install node@16检查node是否安装成功
shell
node --versionWatchman
安装Watchman
shell
brew install watchman检查是否安装成功
shell
watchman --versionRuby
在使用React Native iOS应用的依赖管理的时候会用到这个,虽然mac上集成了ruby但是版本不合适,所以需要通过rbenv来管理ruby的版本,和使用node的版本版本管理工具一样,是用来做版本管理的。
首先要安装rbenv
shell
brew install rbenv ruby-build然后执行rbenv init会出现提示如何操作
shell
rbenv init

# 每人的提示信息不一定相同,根据提示信息进行相关操作
echo 'eval "$(rbenv init - zsh)"' >> ~/.zshrc然后执行这个提示的命令,重启命令行,使用管理工具下载使用指定的ruby版本
shell
rbenv install 2.7.6

rbenv global 2.7.6在使用ruby的版本命令查看下版本
shell
ruby --versionGem 和 Bundler
ruby的两种常用的包管理工具,因为会使用到,如果科学上网不行,那就改一个源吧
shell
gem sources --add https://gems.ruby-china.com/ --remove https://rubygems.org/
gem sources -l
https://gems.ruby-china.comshell
$ bundle config mirror.https://rubygems.org https://gems.ruby-china.comXcode
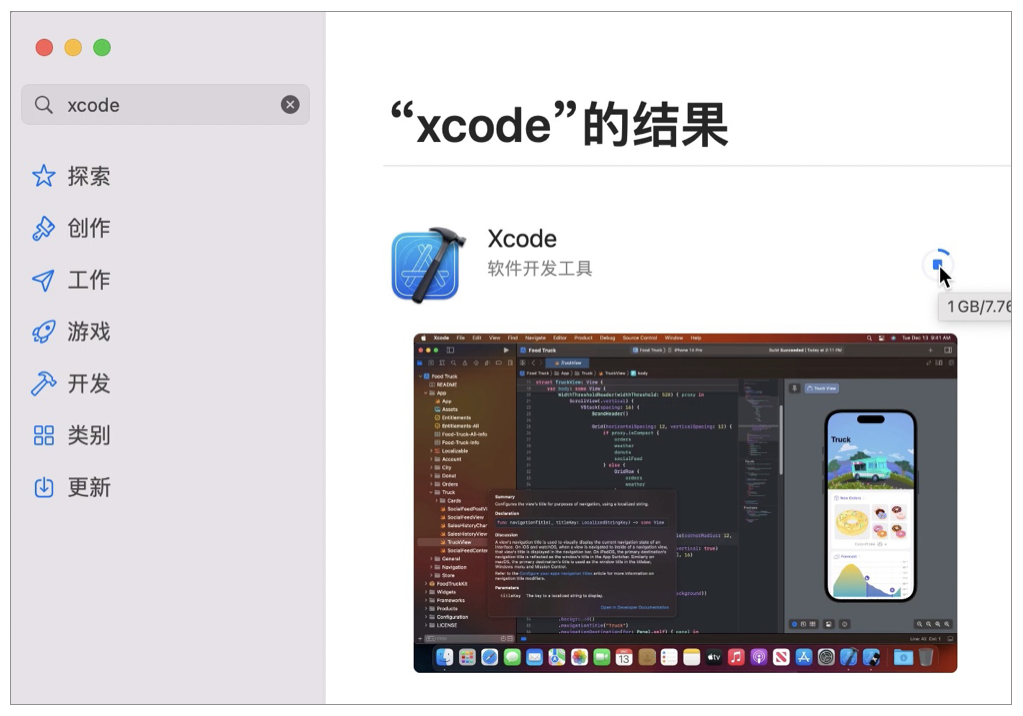
这个就和android studio一样,是用来新建手机模拟器的,这里使用来建立ios手机,直接在app store中进行安装。
